PHP Booosta 3 Tutorial
Installation
To install PHP Booosta 3:
- Download the latest tar.gz archive from Sourceforge and unpack it into the root of your webspace
- Create a mysql database and a database user with apropriate privileges
- Access your webspace with a web browser
- Fill in the basic informations on the Webinstaller:
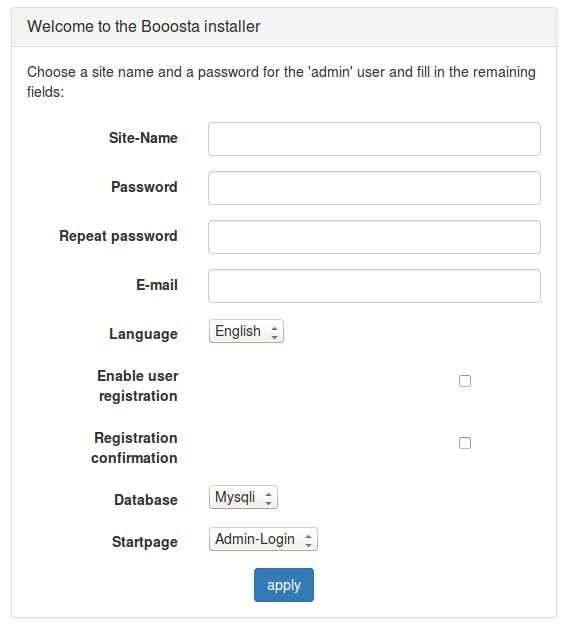
The Password is not the mysql user password, but the admin password you will use to log in in your application. The Startpage is the page that comes if you access your webspace without providing a file name (e. g. http://mysite.org/). You can choose if the login site for admin users or normal users will appear in this case. - Fill in the database informations on the next page:
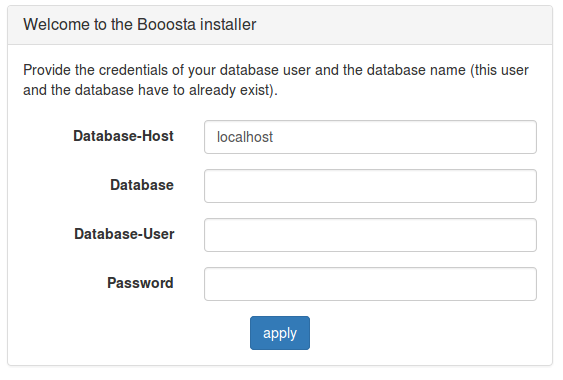
Here you have to use the database and credentials on your mysql database server. - Fill in the necessary information about mail sending:
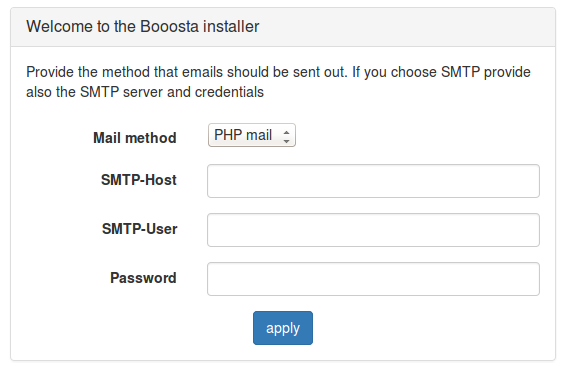
You can choose the method of mail sending. If your web server supports sending email with PHP mail than it is recommended to leave this option. The fields SMTP-Host, SMTP-User and Password only need to be provided, if you chose SMTP as mail sending method. - If everything worked, you get a success message. If you get an error message you should check your database credentials. Try to log in with this credentials with the mysql client programm if you have access to the servers shell.
- Log in with user "admin". If you chosed "User-Login" in the first step of the installer, you are now at the user login. To get to the admin login you have to point your browser to the script login_adminuser.php instead of login_user.php. The password you provided in step 1 of the installer only works with the user "admin" at the admin login.
Next